DIY Cedar Planters
Spring is here!! Since becoming a mom, I’ve had this new desire to learn how to garden! I have such fond memories of my mom’s garden from when I was a kid, and I think there is a part of me that wants to create something similar for our family. I have dreams about the days getting longer and spending evenings watering our plants + flowers/just being outside and enjoying the sunshine.
I knew I wanted to try my hand at growing some vegetables and possibly some flowers, too! However, when I looked at buying some planters they were a bit too expensive, especially since this is my first go at a garden. So, I did some research and came up with this plan to build my planters. Special thanks to the nice guys at Home Depot who told me to go with these cedar posts at the last minute and who cut my boards to size for me!!
What I used for each planter:
Four 8 ft. cedar fence posts (Home Depot cut them into two pieces, one that was 5 ft and one that was 3 ft.)
Two 2” x 4” x 2’ (Home Depot also cut each of these in half so that I had 4 pieces for each of the 4 corners!)
Screws
Drill/Drill bit
Building the Planters
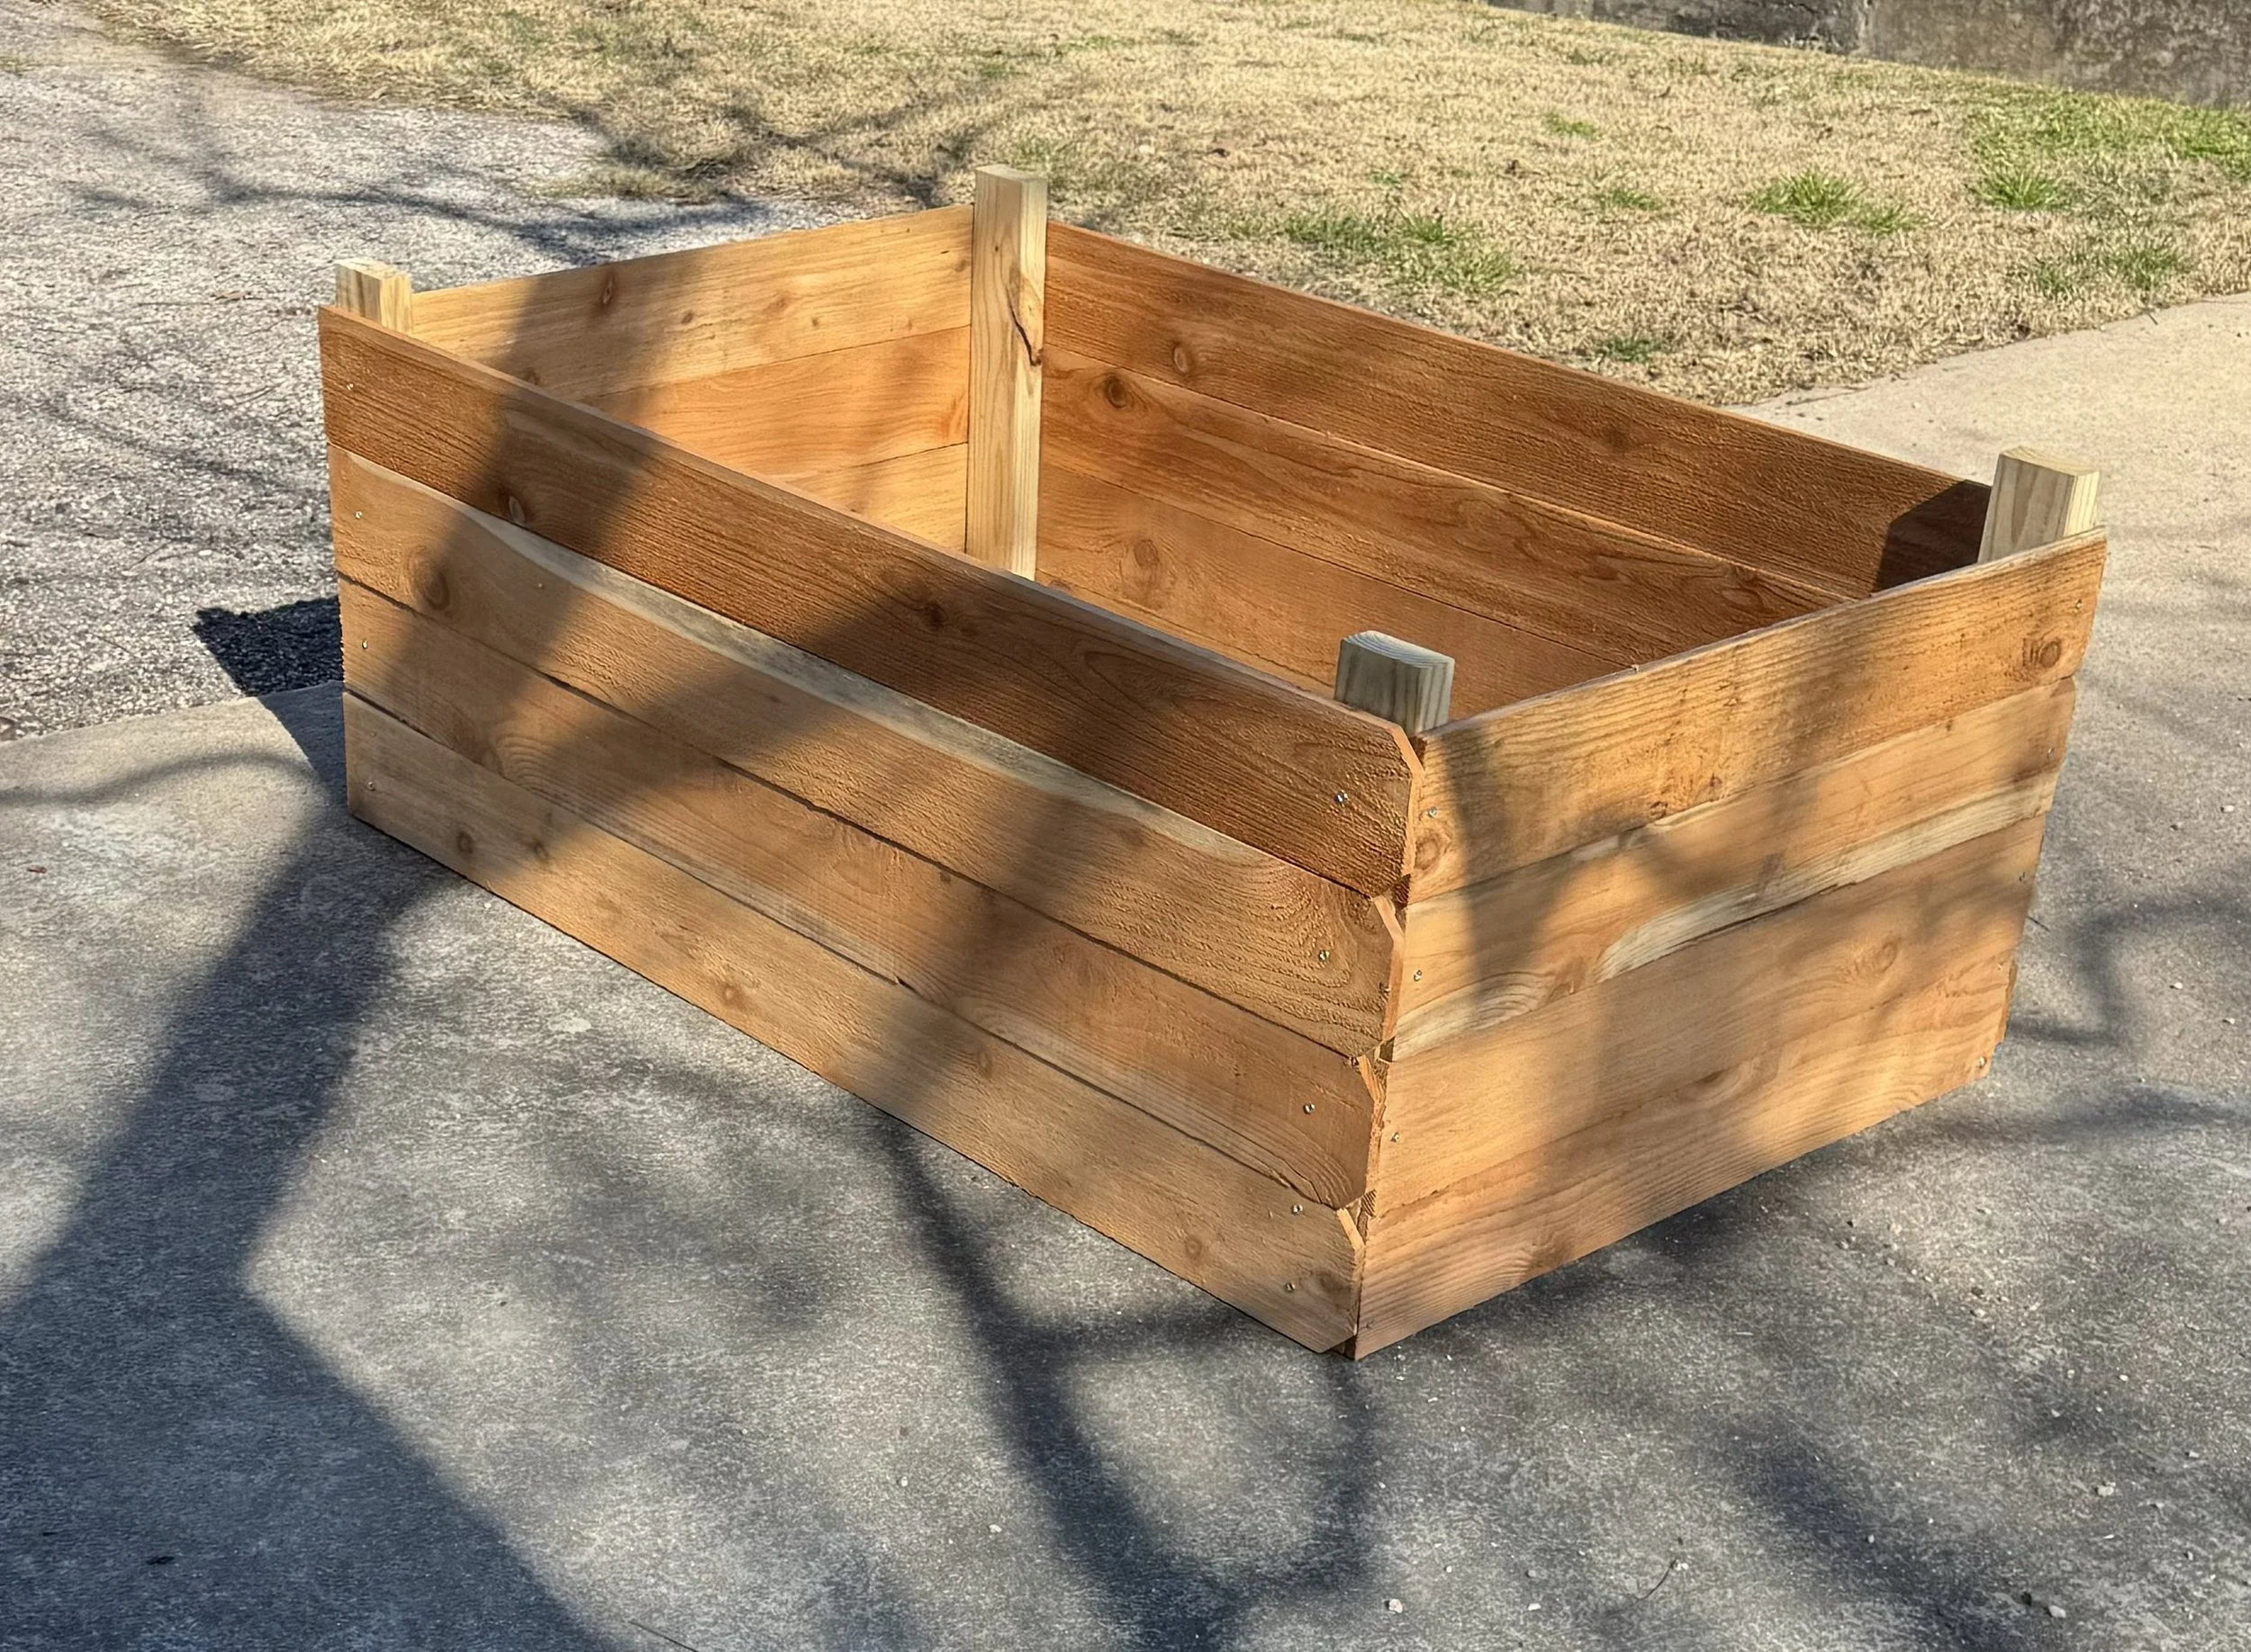
My first version of these planters ended up being way too tall, and I had Jordan cut my first one in half! The supplies above are to build the planter at the current size they are, not my first mess up size!
These planters were pretty simple to create- all I did was stand the 2'“x4”x2’ (1’ cut in half) up, and start drilling holes to attach the the cedar pickets. Once the holes were created, it was easy to attach the screws to hold the cedar pickets in place.


This was the completed planter that ended up being way too tall. In my head, I thought this would be a good height, but seeing it built (and realizing how much dirt it would take to fill this thing!) quickly made me decide I wanted it to be half this height. Because we are not a family that owns a bunch of tools, Jordan ended up cutting this guy in half with our chainsaw! ha!
After I had the height figured out and cut this guy in half, I only needed to build one more planter since I wanted 3 total. The third one ended up going quickly because it was half the size and I already had a sense of what I was doing.
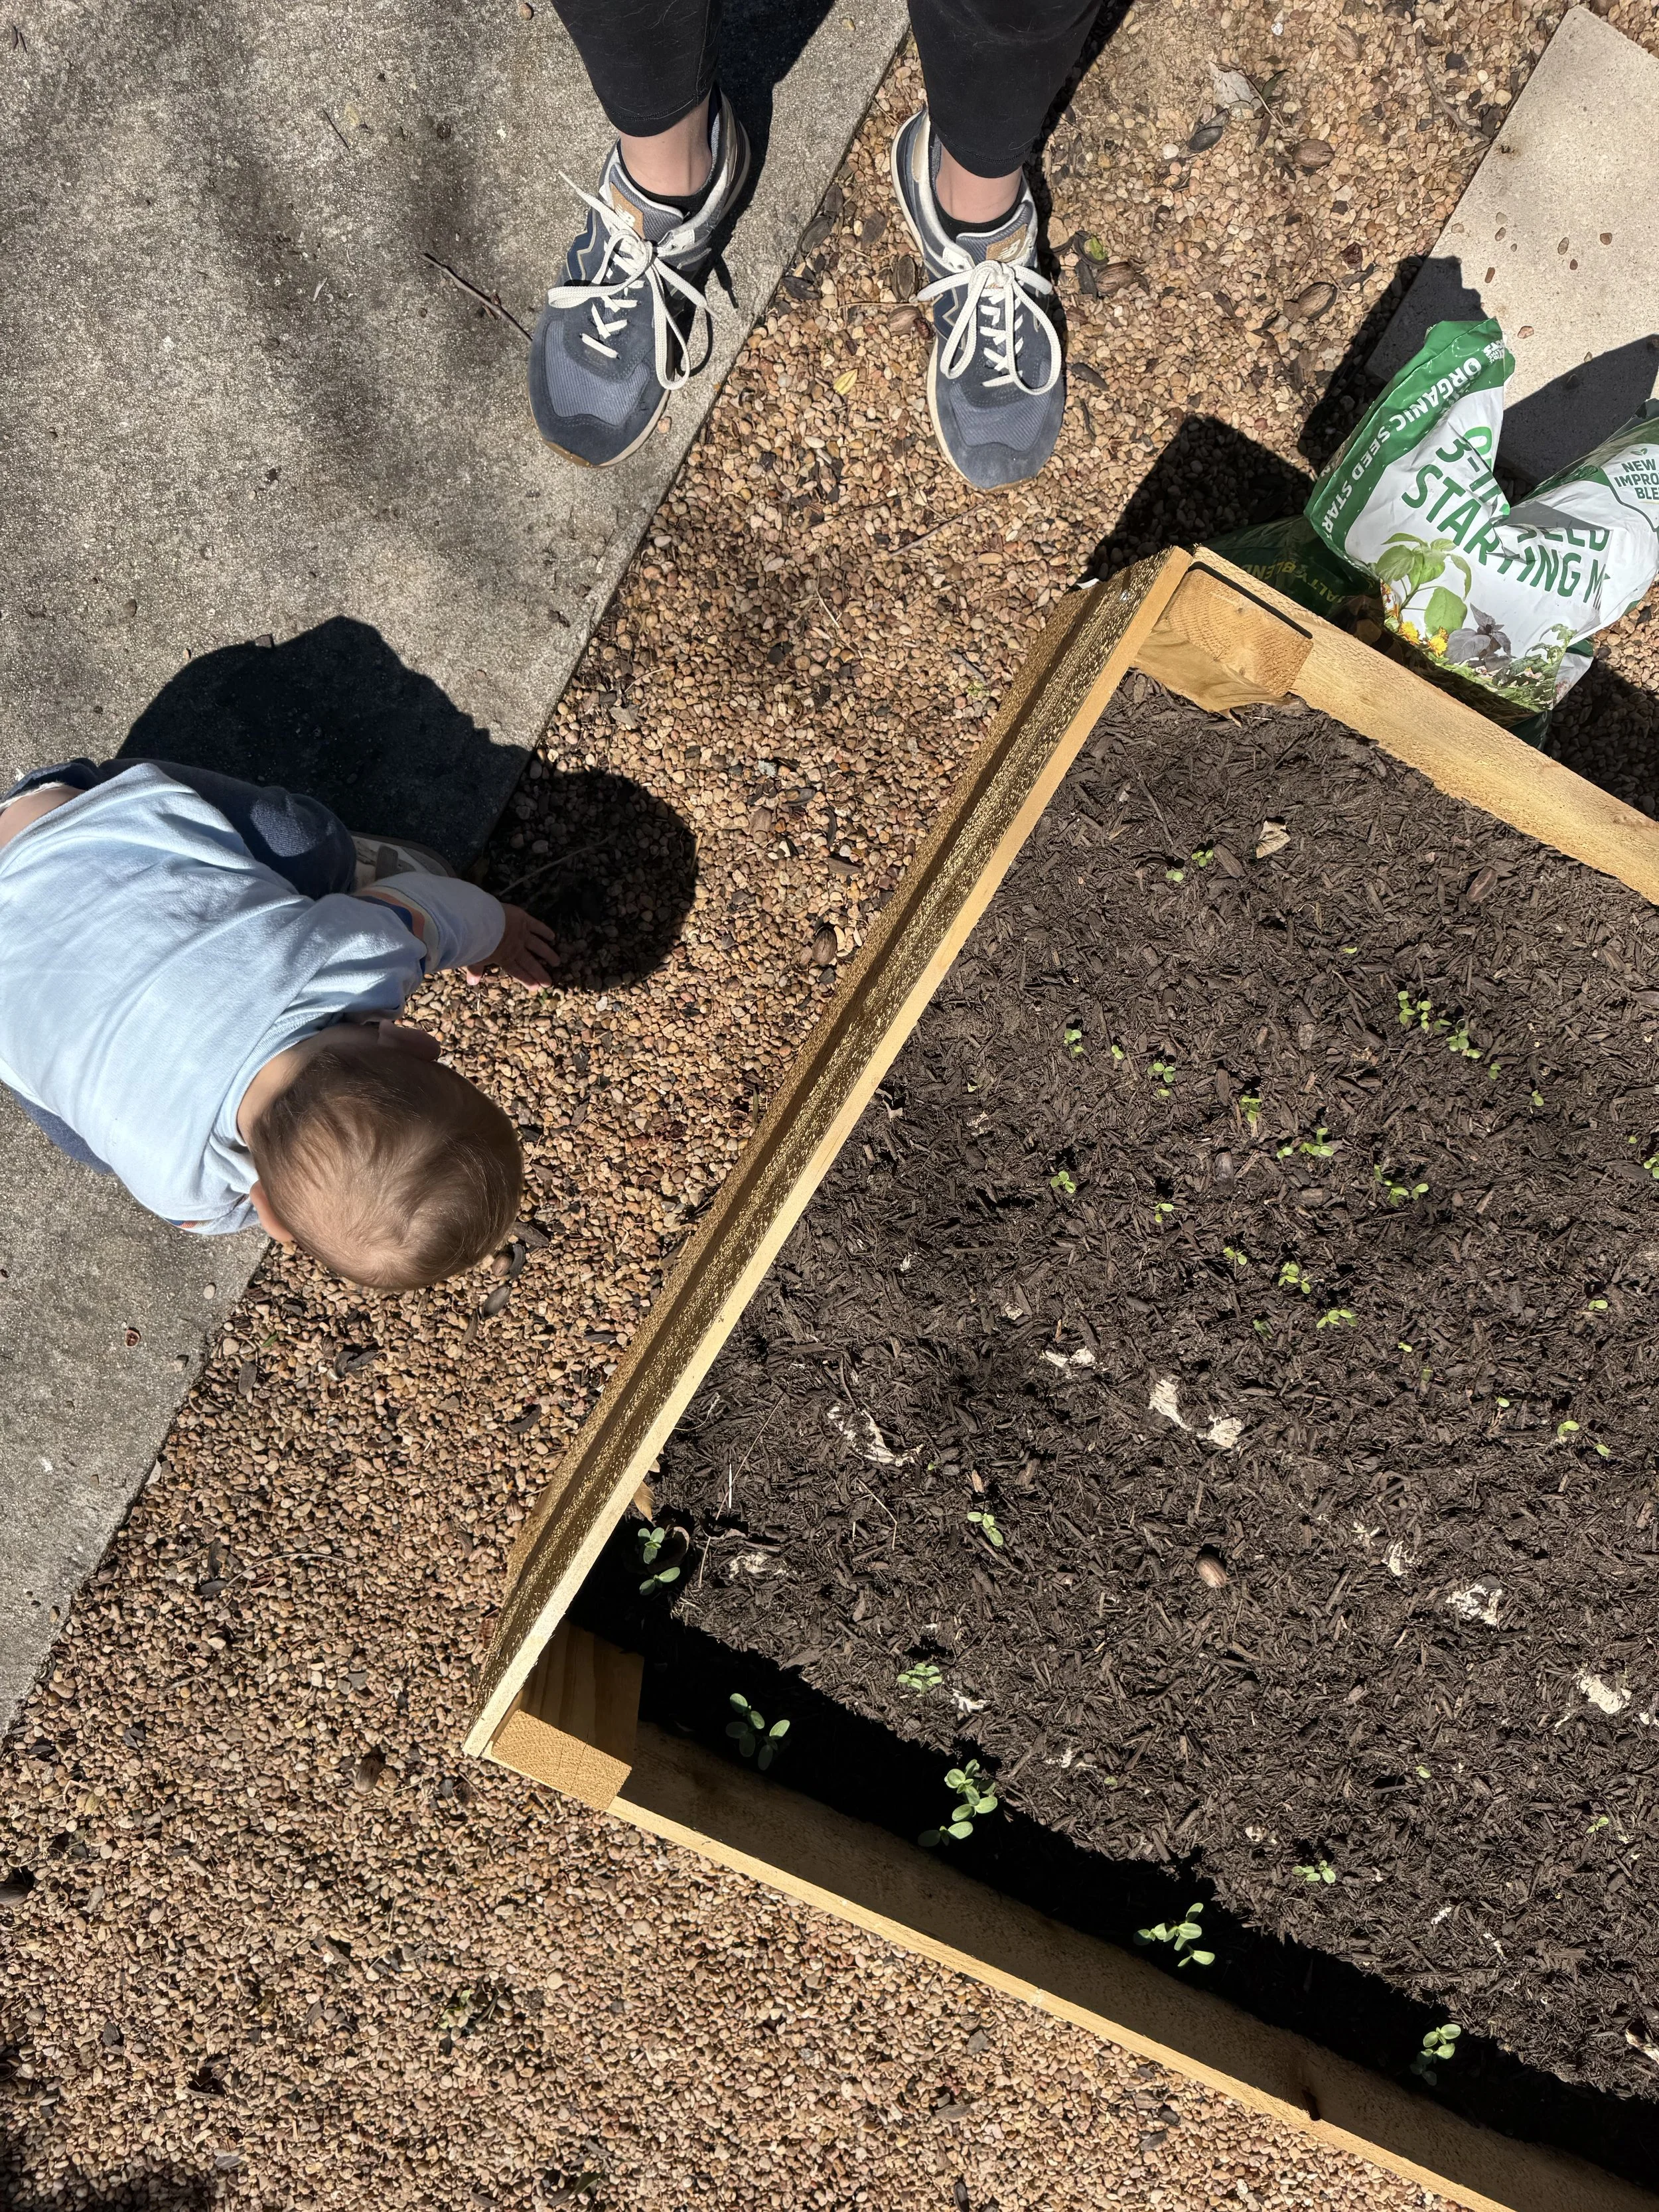
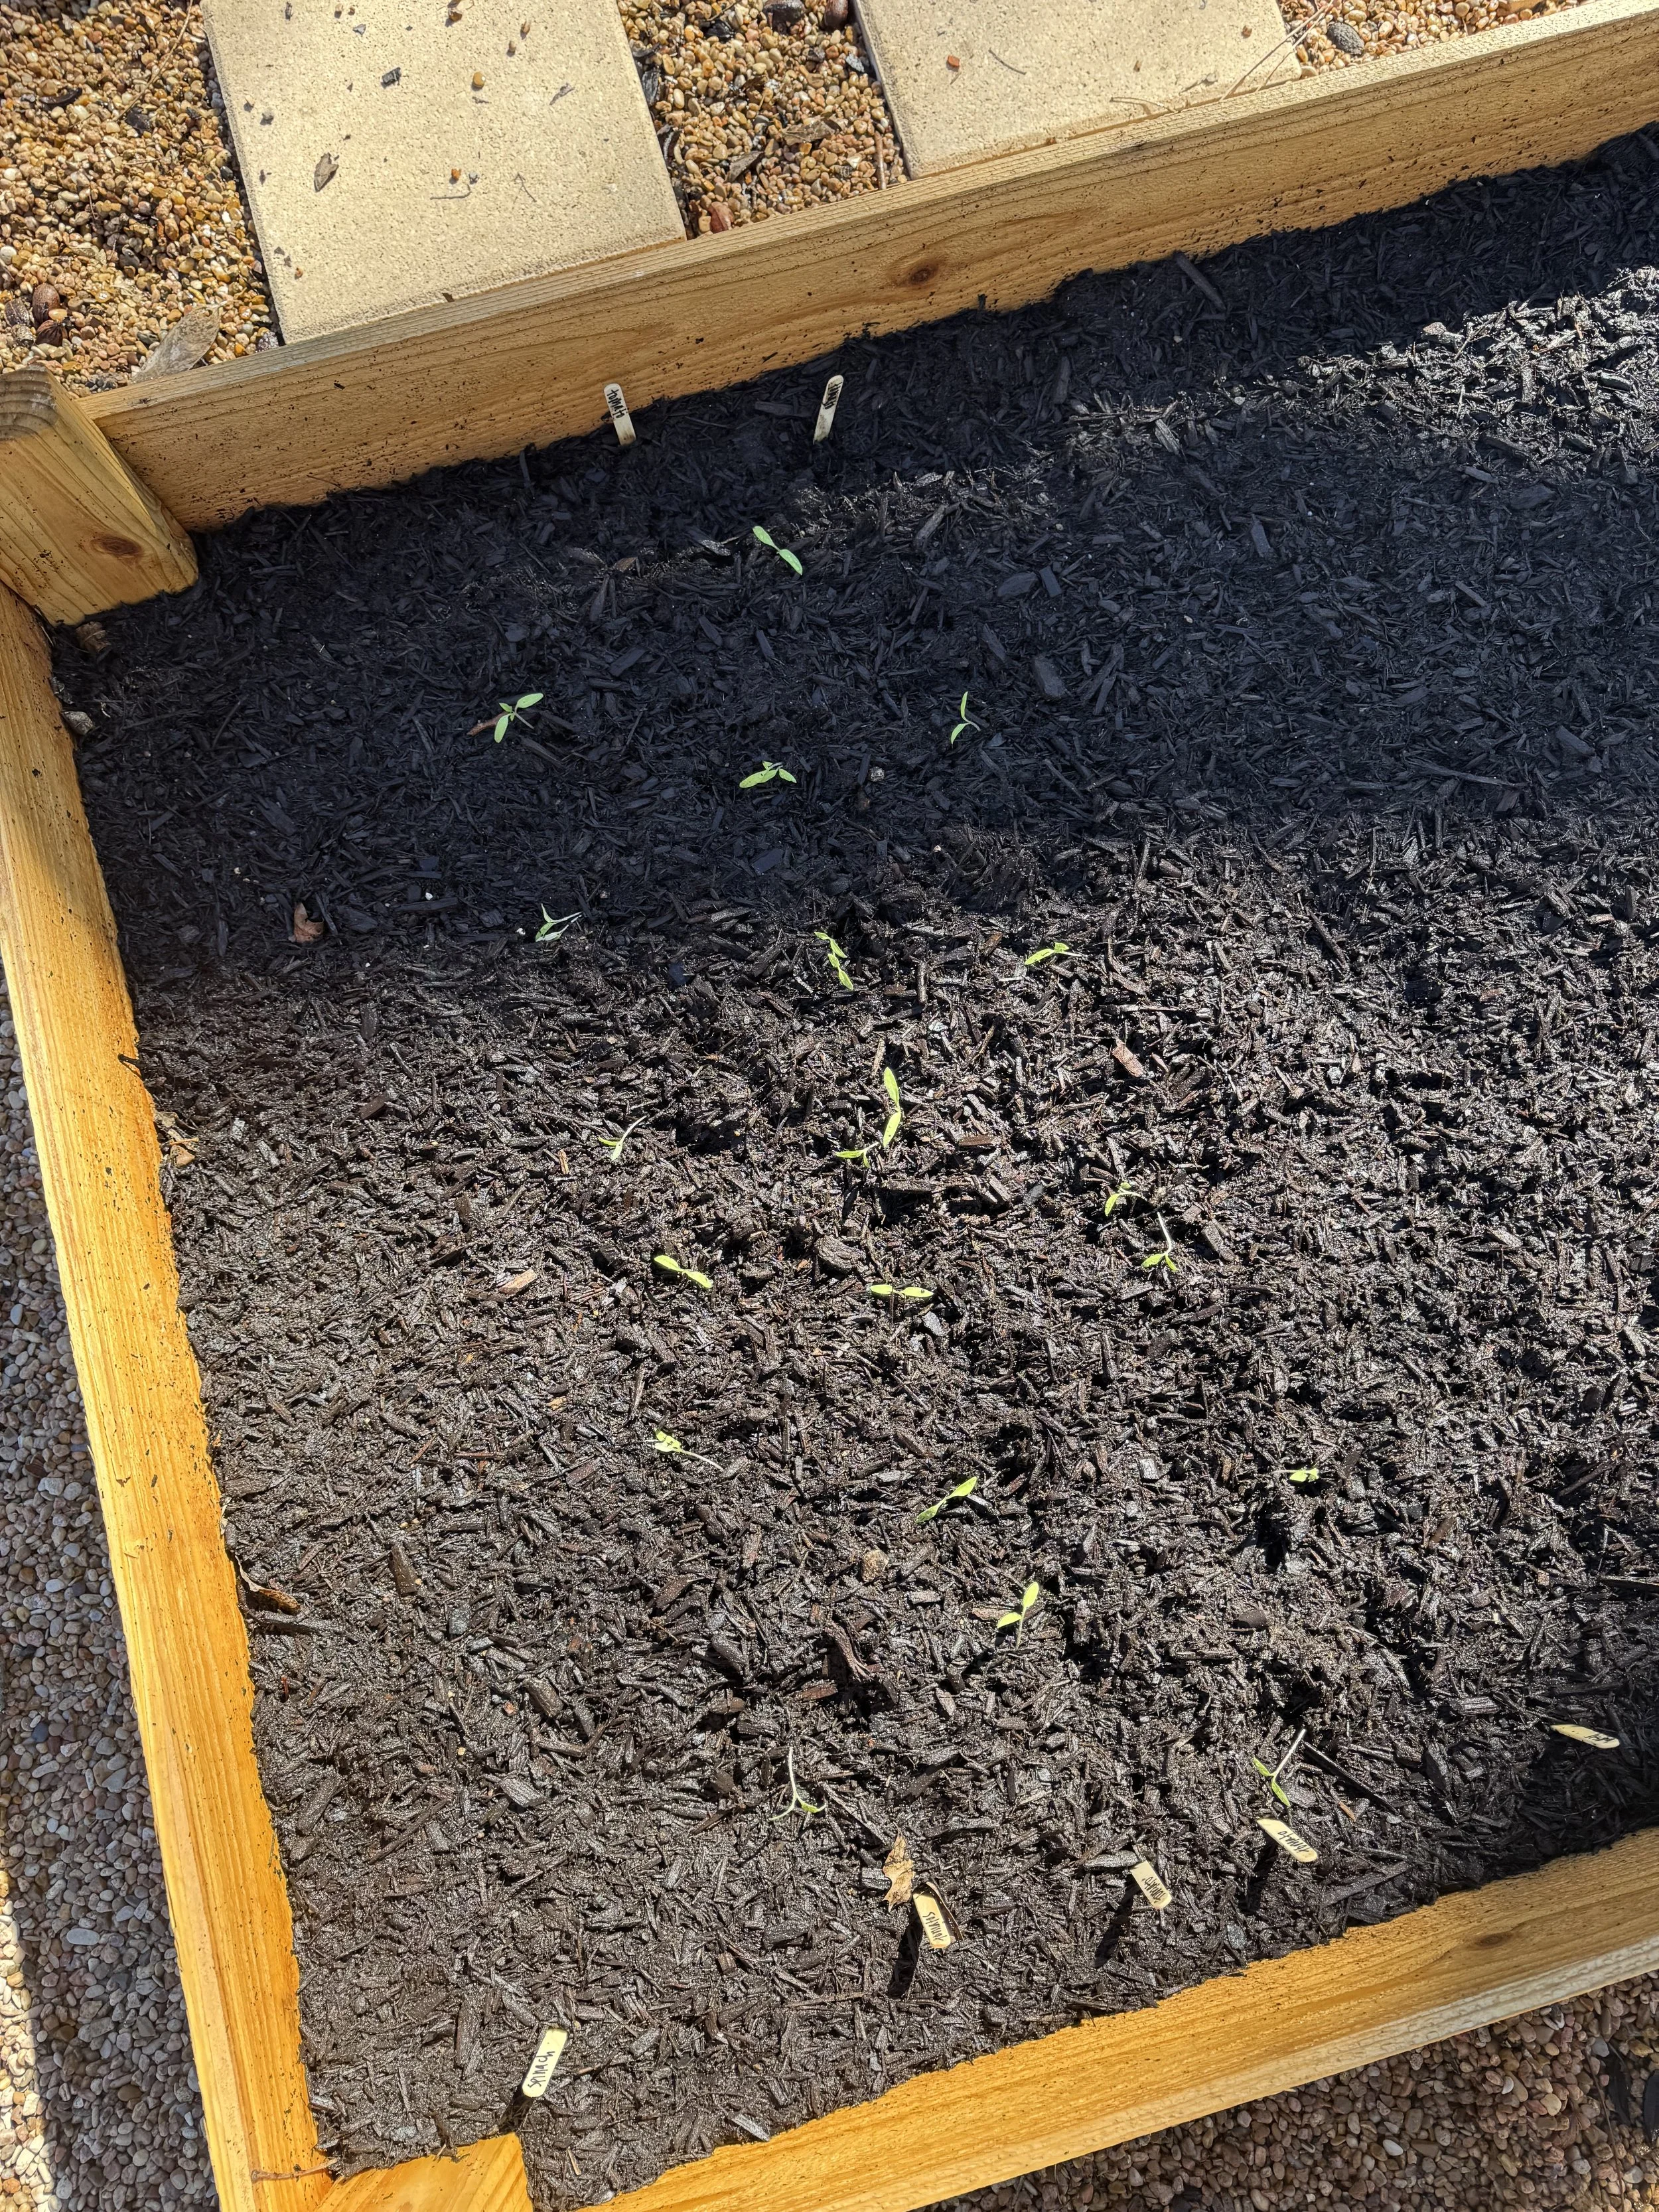
Once these were built, I was able to just pick them up and move them to the spot in our yard that I wanted them to live. I chose a spot that should get some good morning sun, but hopefully will have a bit of shade in the afternoon since it can get so hot here in Central Texas!
The next step was filling the planters! Thankfully, we had a bunch of sticks and bags filled with leaves that we had collected over the fall/winter, so I used these to fill the planters up about halfway.
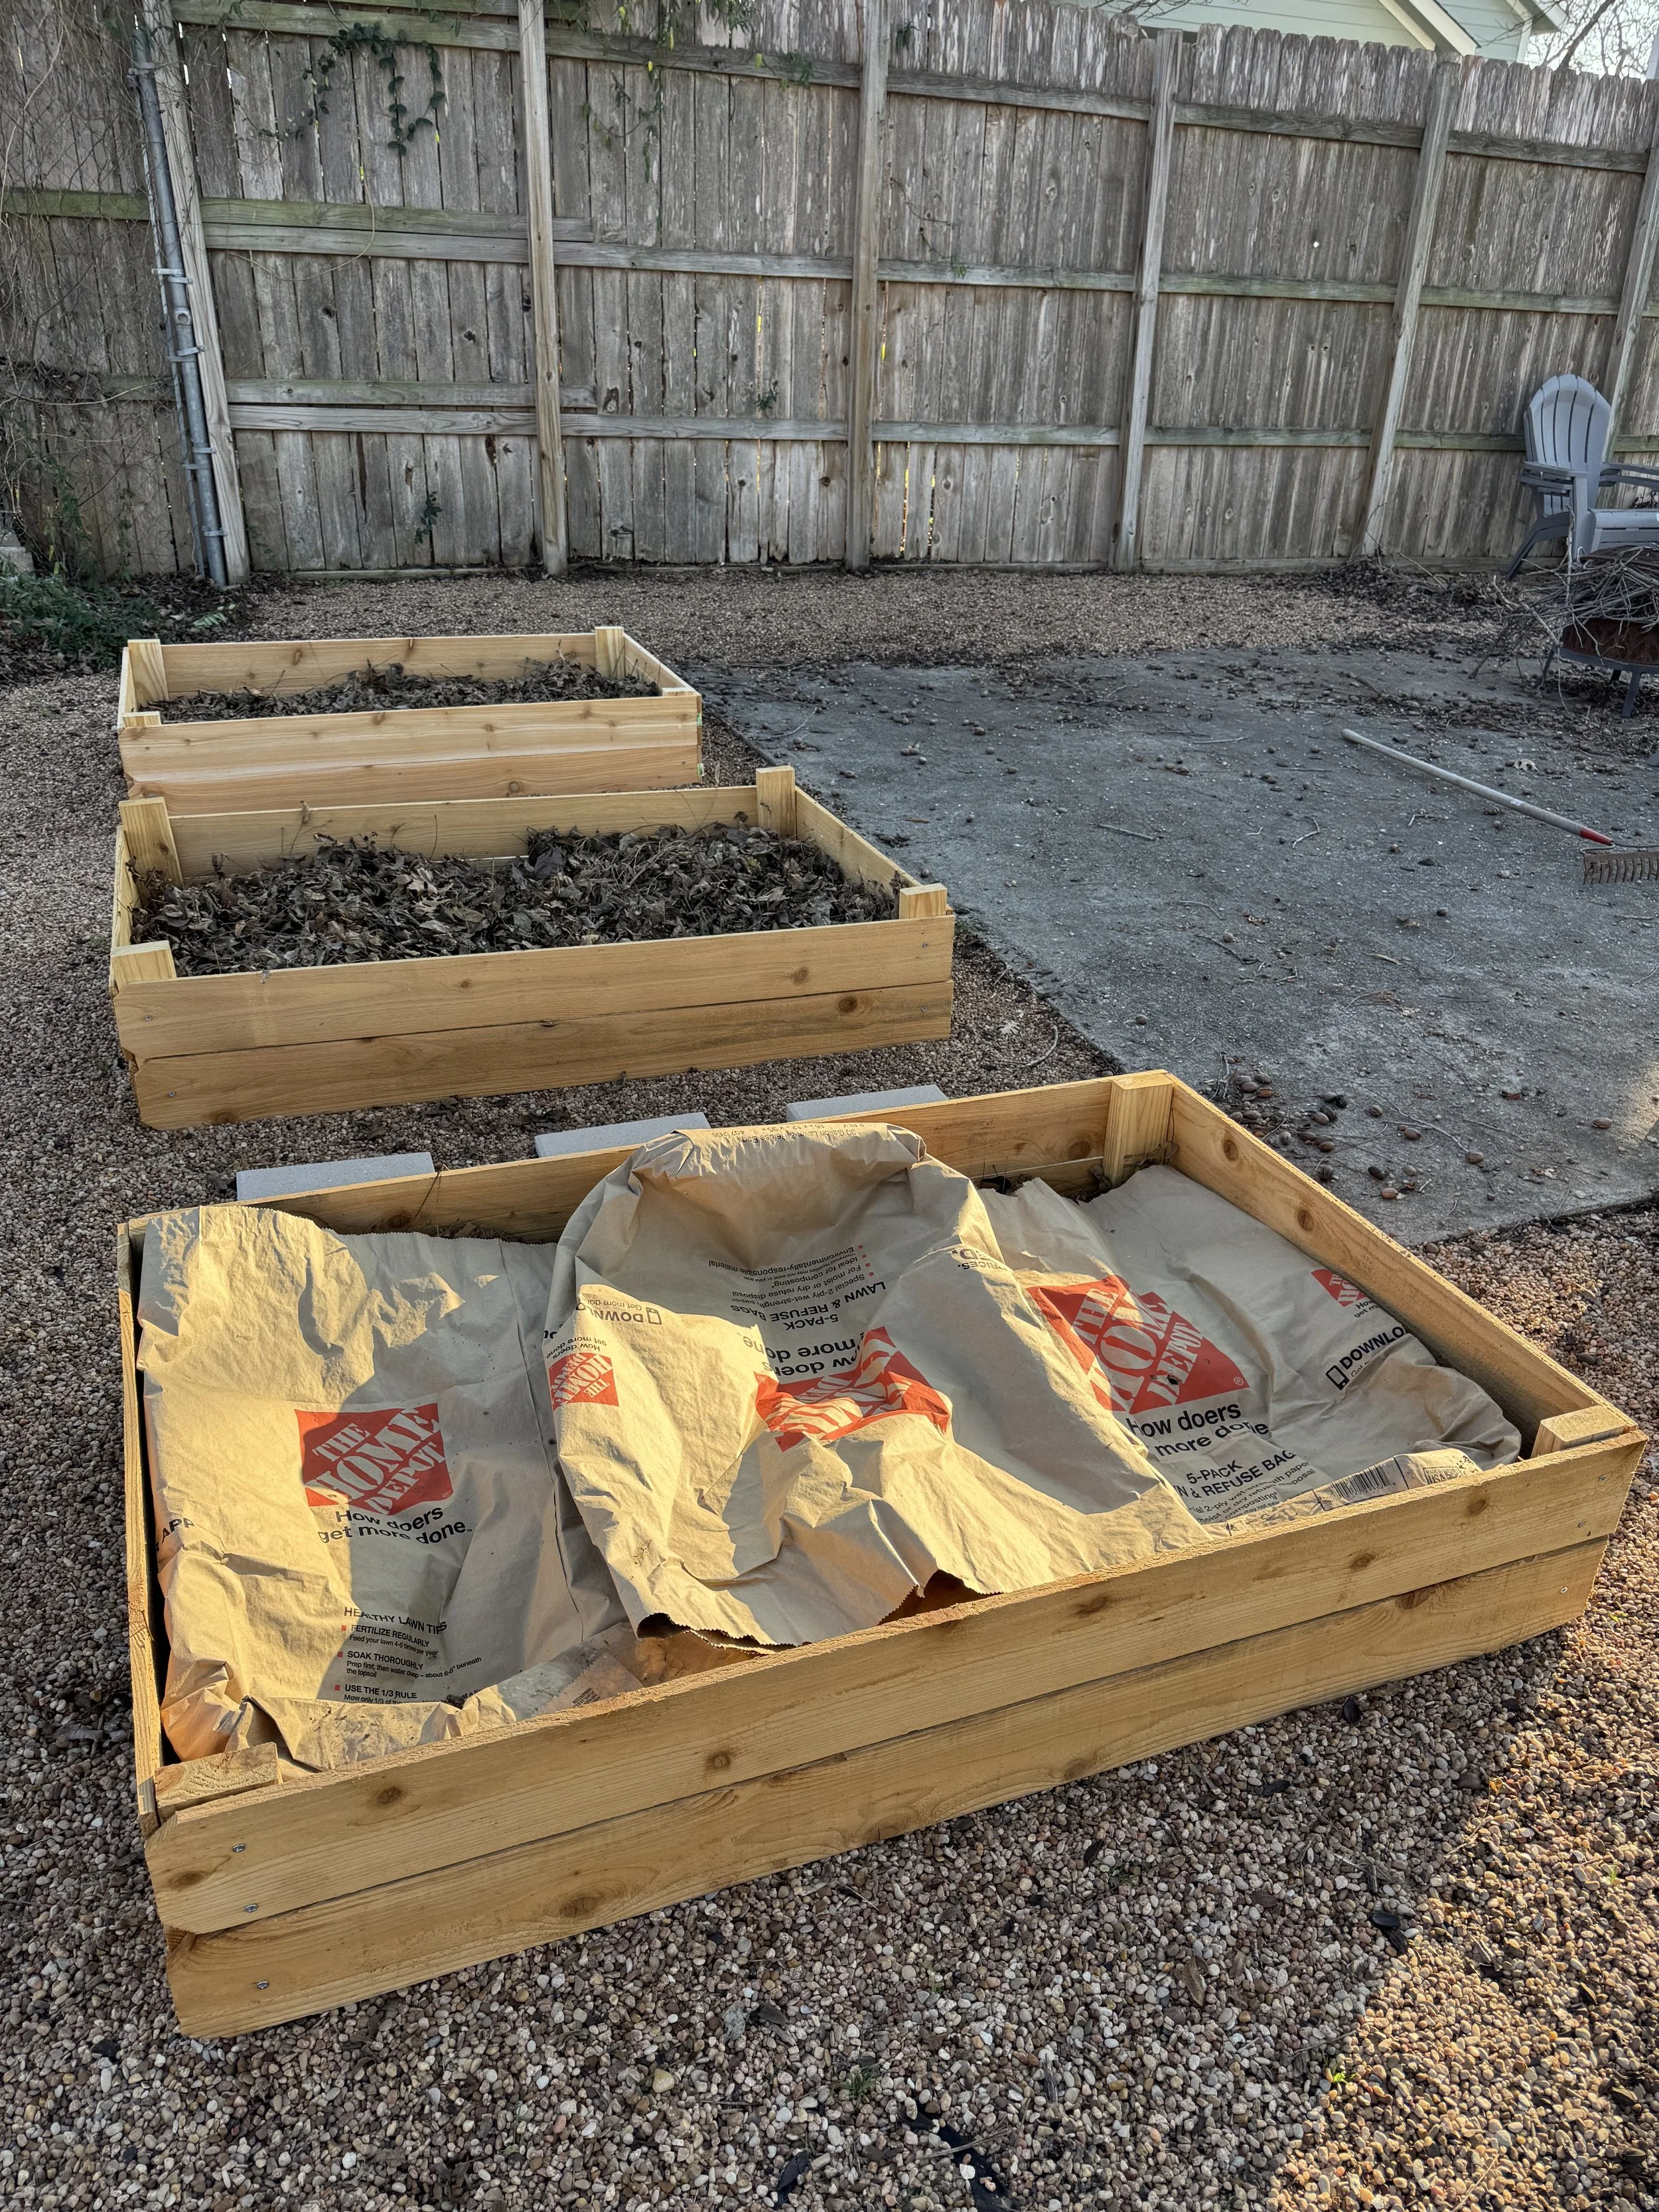
Next, I layered different dirt types. I started with top soil since it is fairly inexpensive, and then at the top I did a dirt that was specifically for raised garden beds. This was a bit pricier so I tried to get enough that there would be a solid layer, but not too much because it was so expensive!
As I was building the planters, I also was starting a few of my plants in starter containers. I put a lot of work into this, and ultimately, I think it flopped this year! My broccoli sprouted quickly, but without enough sunshine, it became very leggy and did not take well when transferred to the planters! My tomato plants also failed in transfer, though I haven’t totally figured out why yet… more fun as we continue to experiment!
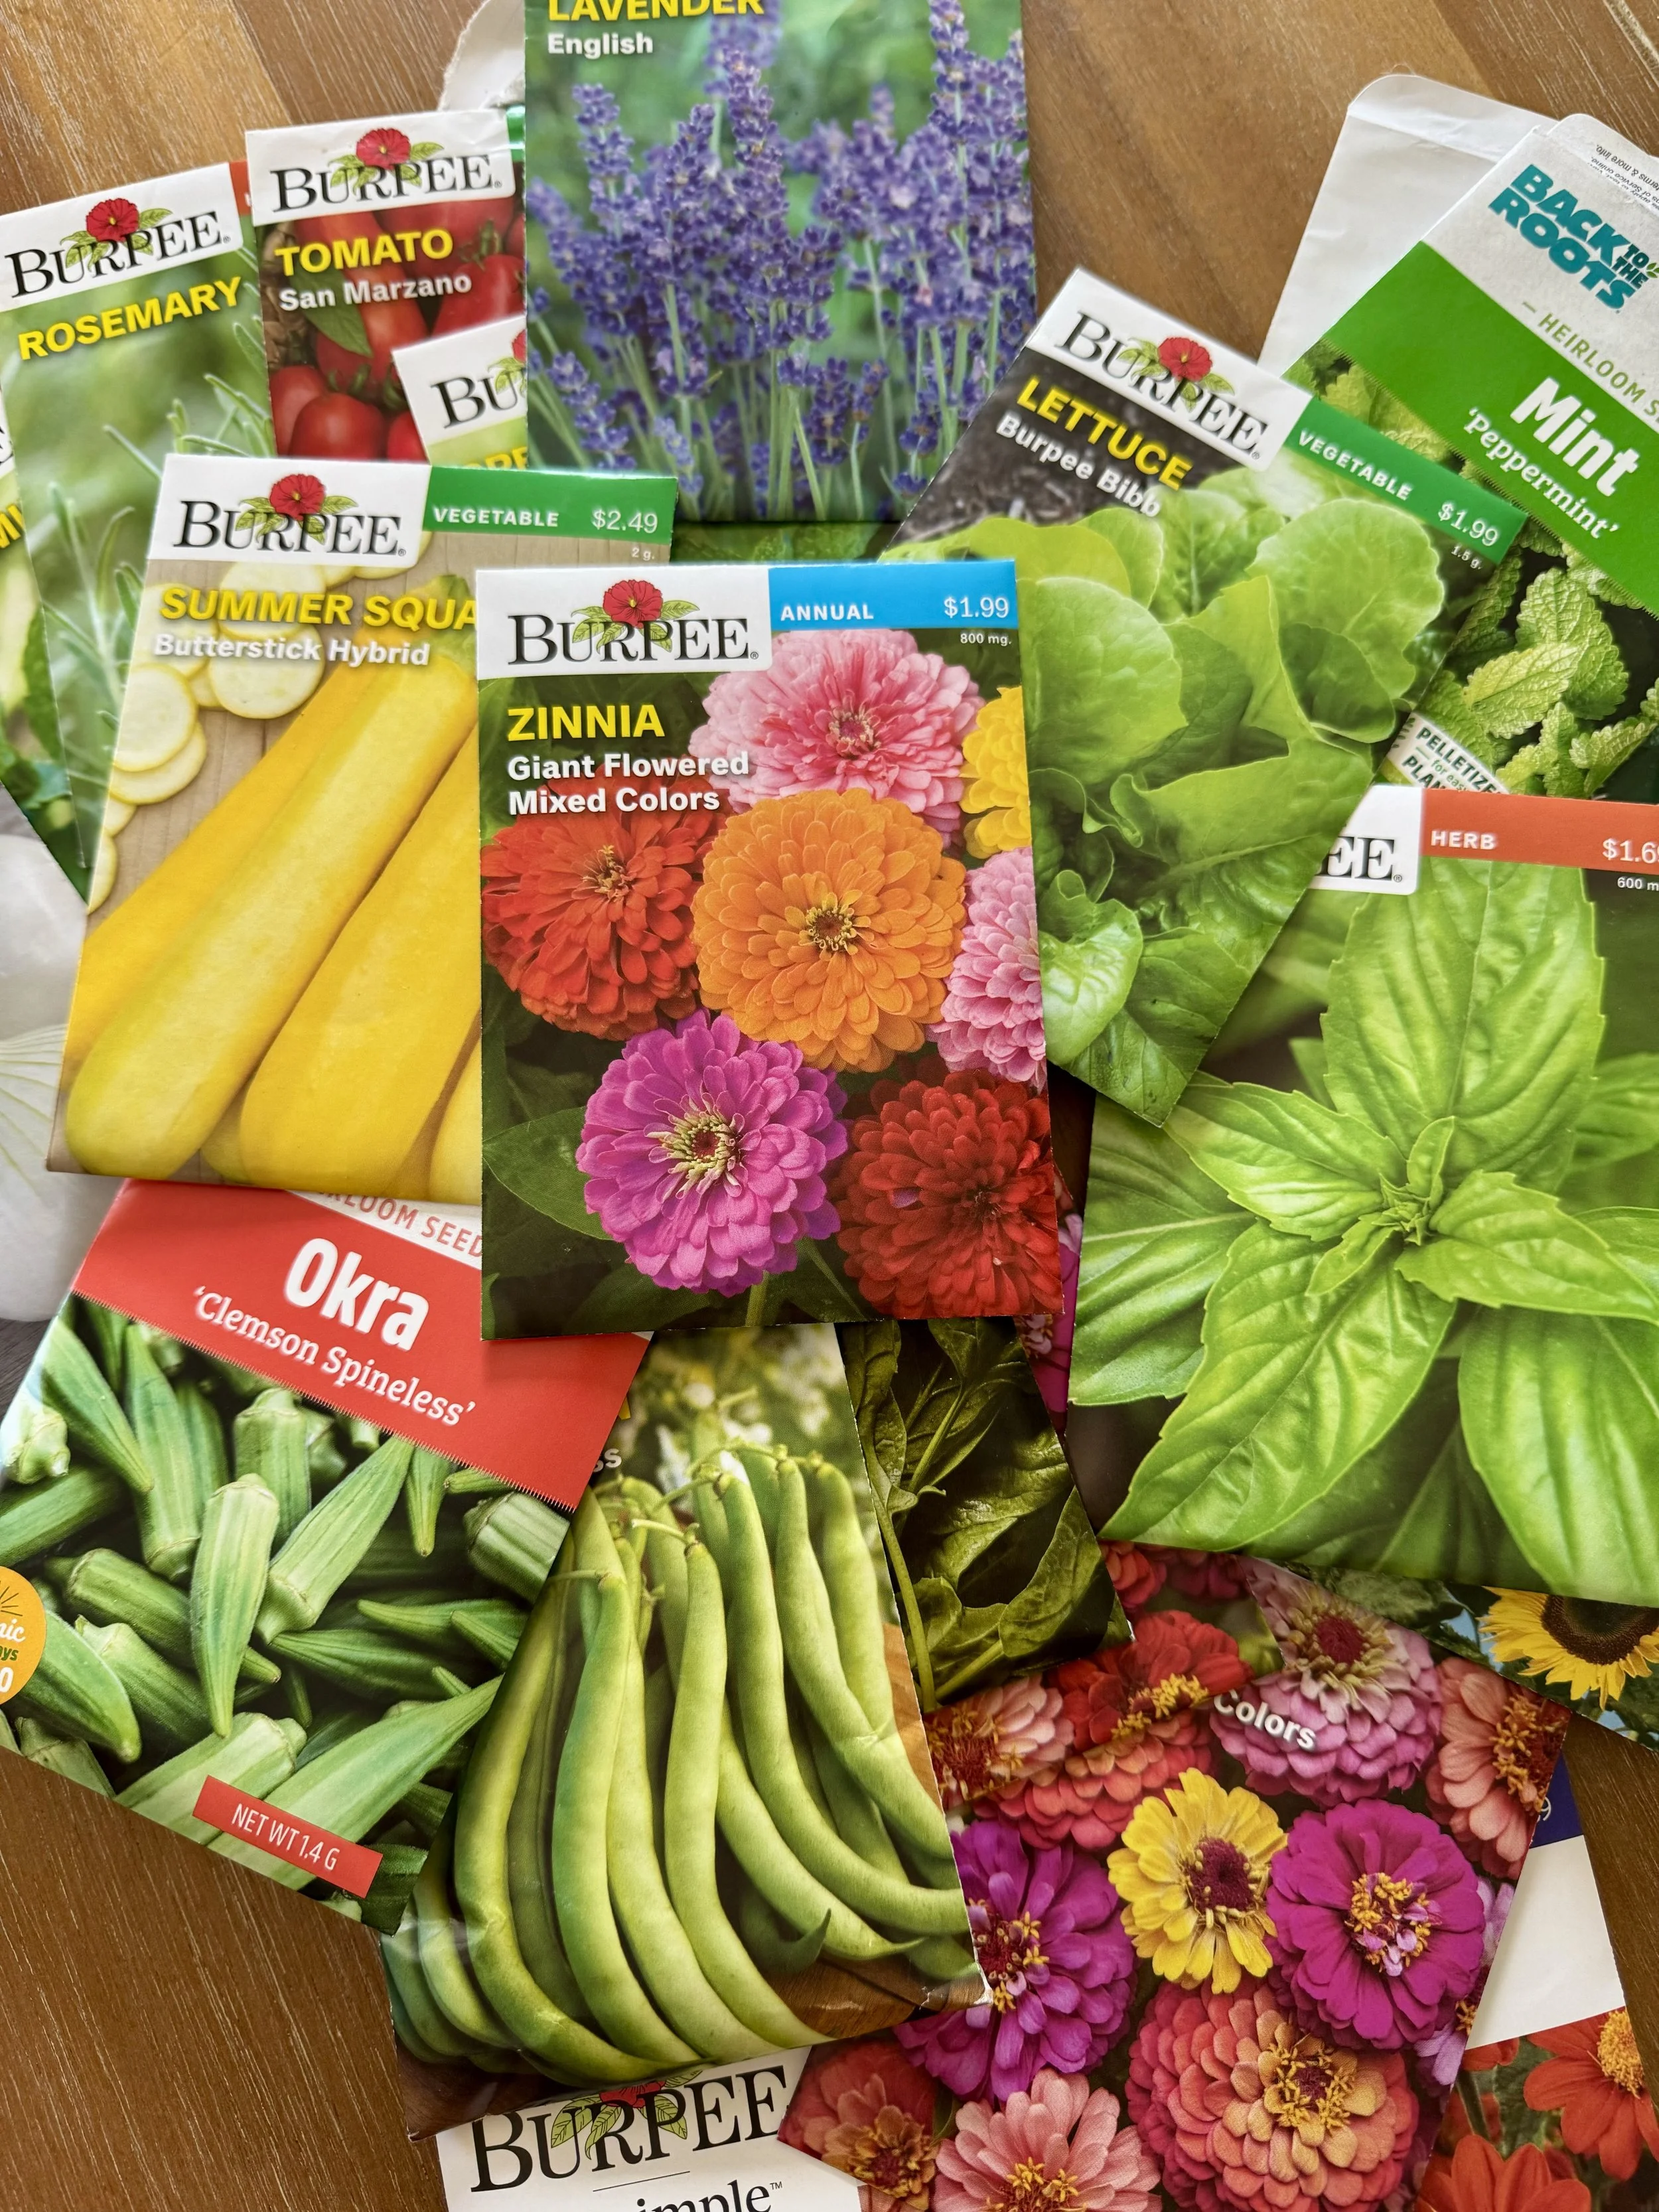
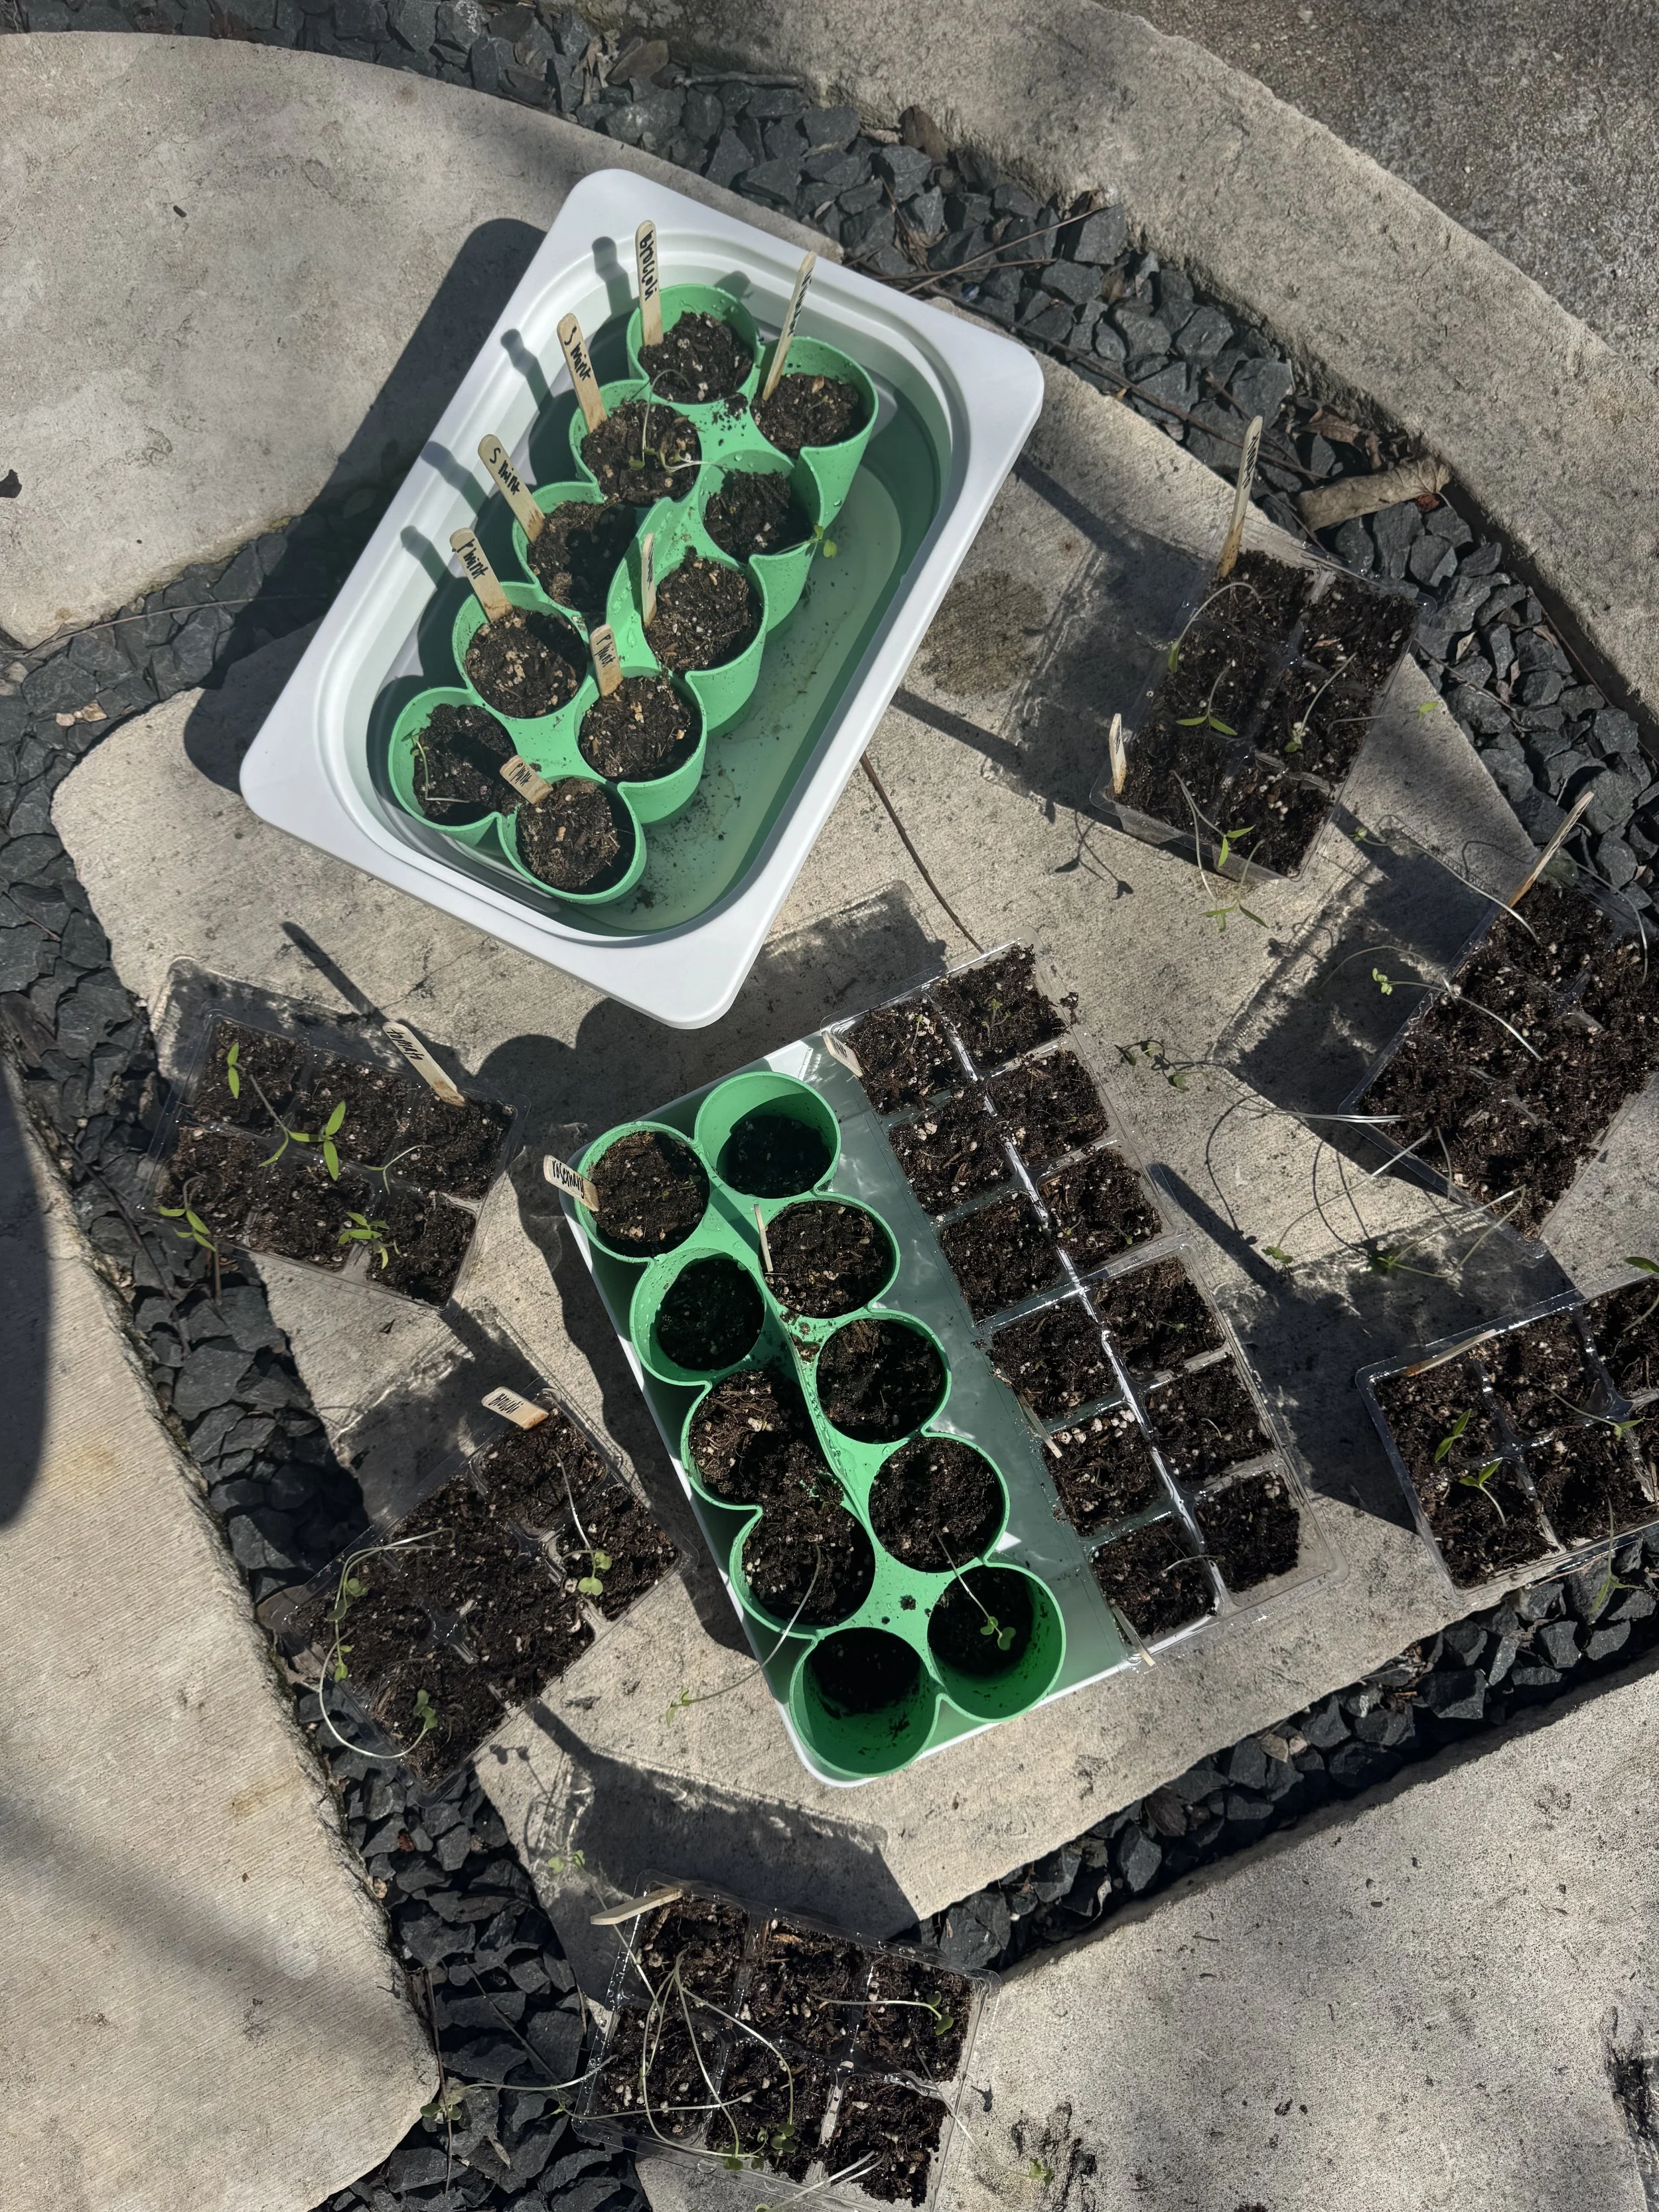
To mark my plants, I just used wooden popsicles sticks with Sharpie— nothing too fancy! I created little rows in the dirt and planted the seeds! I did not follow spacing rules on the packaging (oops!), but figured I could pick the strongest plants as they grow and discard the rest.
So far, my okra, squash and beans seem to have had the most exciting growth! I have replanted some tomato seeds as well, to see if they will survive. I also dedicated a whole box to cut flowers! Zinnias, Sunflowers, etc!

More than anything, this has been such a fun, creative project! I’m learning so much, and know I’ll continue to use trial and error to figure out what things grow best in this Texas heat! It has been so fun to take Davis out to look at our progress, and we have been spending evenings in our yard. Davis and Jordan swing, I water the garden, and it is such a fun way to be outside together!
Happy gardening! I hope these planters bring you as much joy as they have for us! I’d love to know any tips + tricks in the comments below.